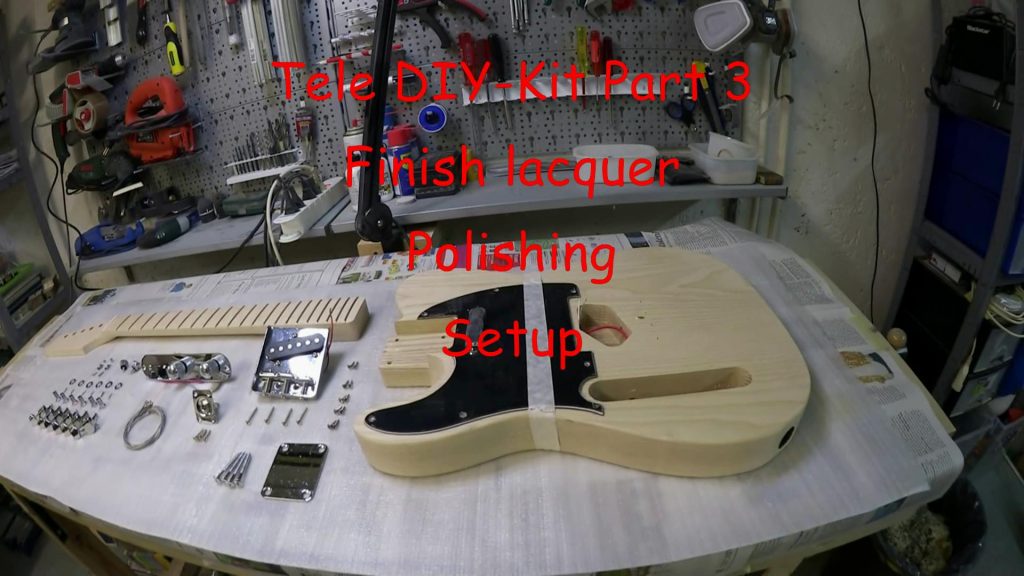
The part three of My Tele Style diy kit build
In this part I finished the lacquer, polished it and have done the fred job. Finally I assembled the guitar.
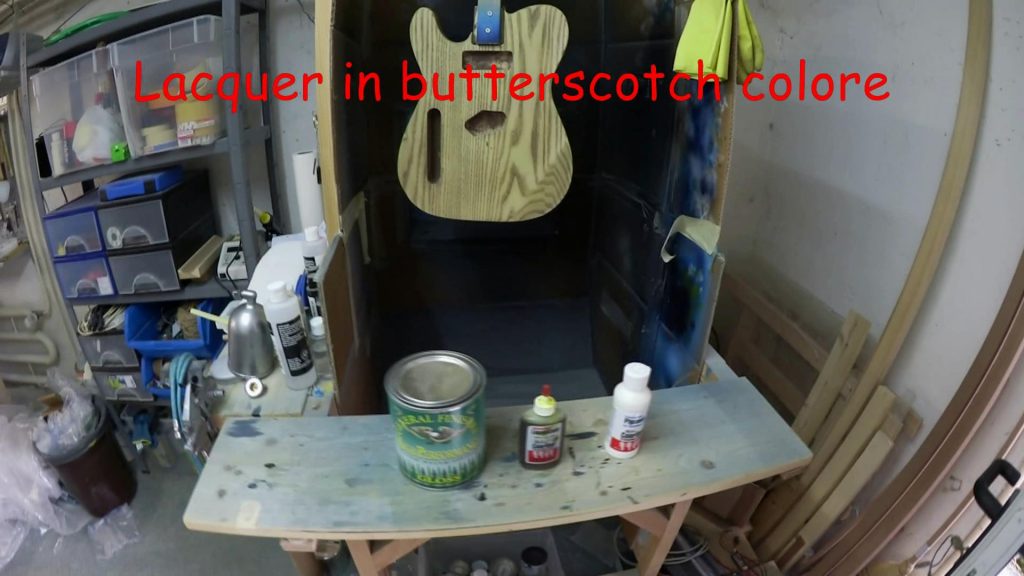
The Lacquer
For the color on the body I used acrylic lacquer with yellow stain an a tiny bit of with color tone for the right brightness. The neck only have clear coated. The stain on the wood seems bright enough to Me.
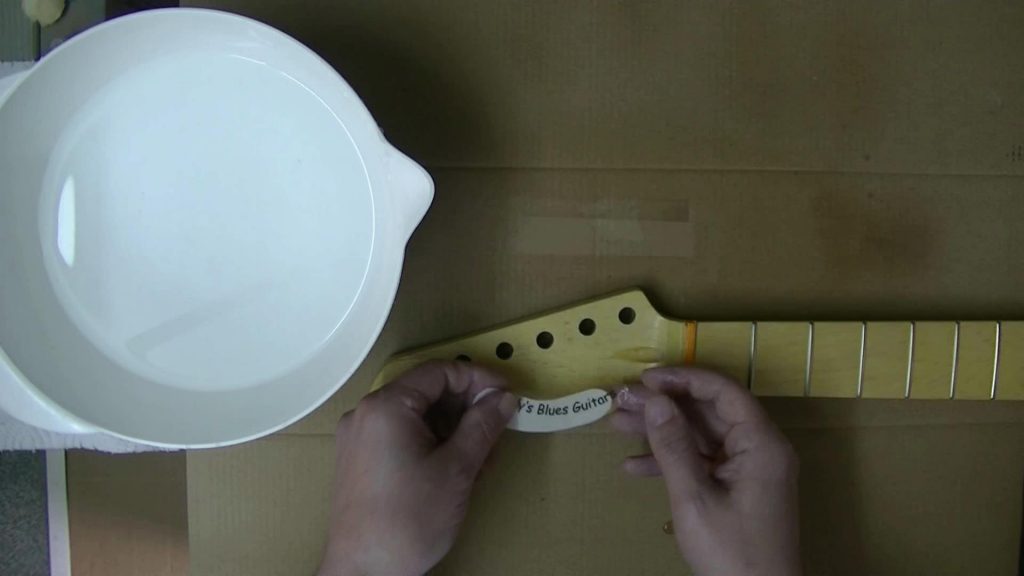
The decal
To personalyse I added My brand to the headstock. I used a waterslide decal. You can get this type of decal on ebay for printing with inkjet or laser printer. Be shore to by the right one for your Printer. After printing the decal I throw it in warm water. The decal then curl an slowly expands back. Thad is the moment when you take it out of the water and slide it in place.
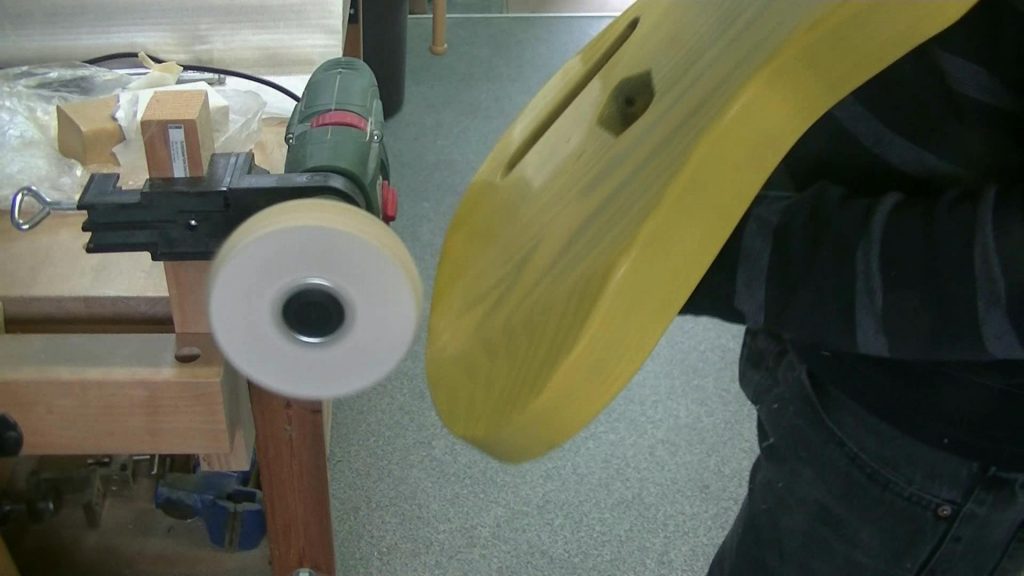
Polishing
After the last clear coat has dried for about a week, I sanded the hole body and the neck with 1200 grid sandpaper. After that I polished both on the buffing wheel.
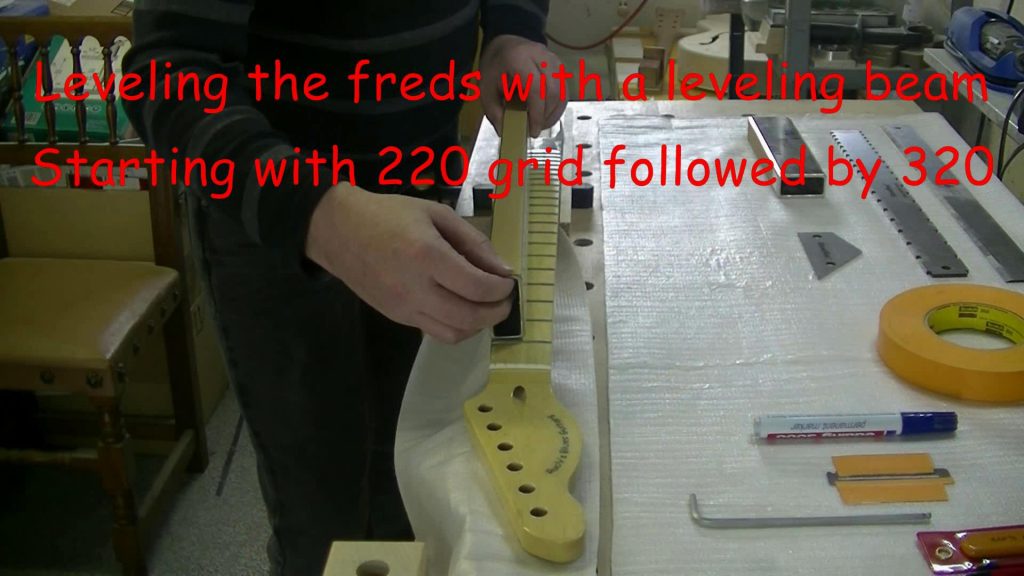
Leveling the frets
For leveling the frets I marked the frets. After that I sanded them down with a leveling beam, till al of them where touched. Then I created a fall away with a short sanding beam, that was raised with tape on the fourteenth fret. This forced to sand the frets after the seventeenth fret to be lower on a “fall away” angle. This prevents buzz and helps with bend’s after the 12’th fret.
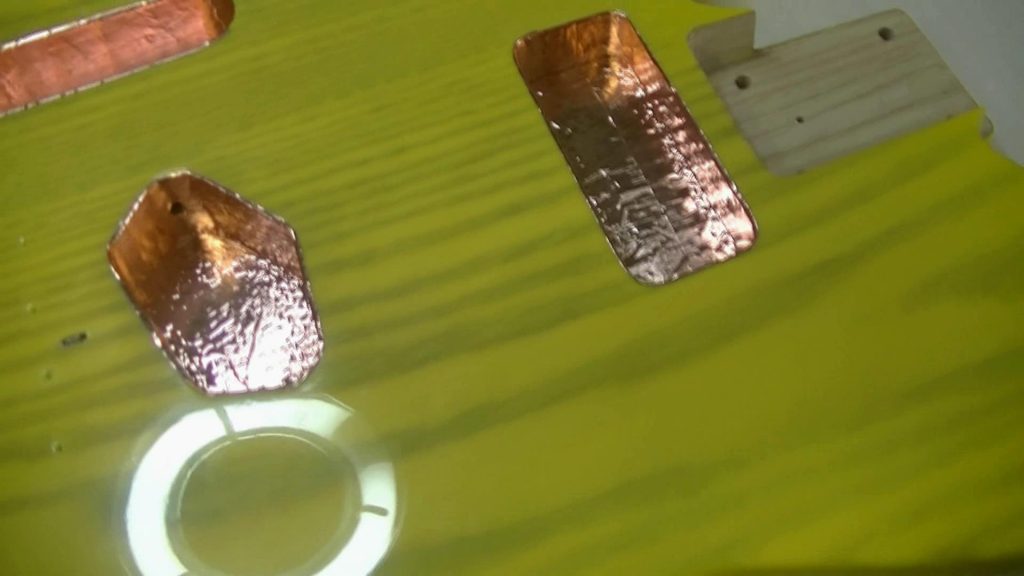
Shielding
To have less humming problems I decided to shield the pickup and the Switch cavity with cupper tape.
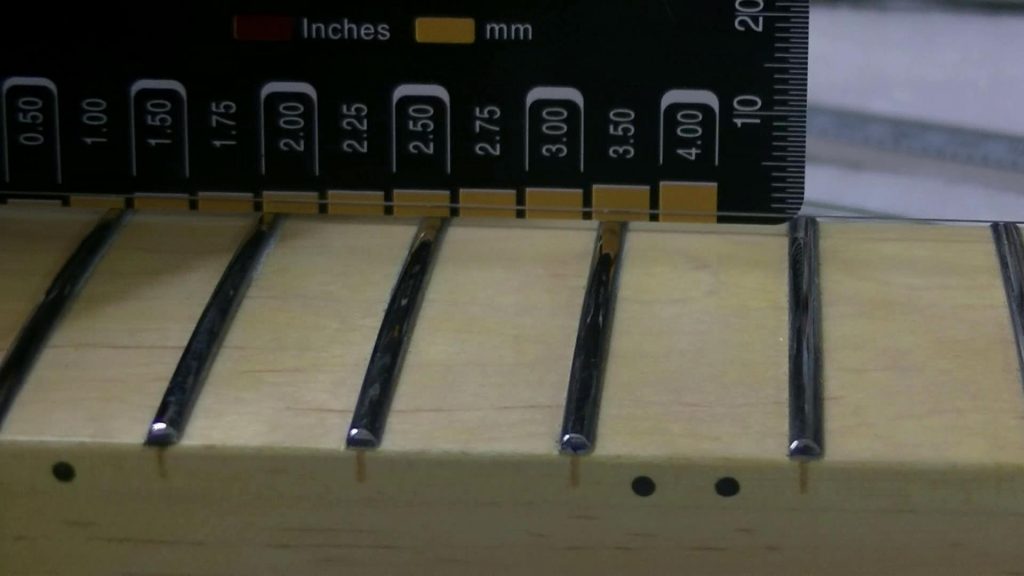
Setup
For the Setup I first set the action of the high an the low E-string. After that I have set the remaining strings with a dedicated radius gouge that can be get from Stewmac http://www.stewmac.com/Luthier_Tools/Tools_by_Job/Tools_for_Necks_and_Fingerboards/Understring_Radius_Gauges.html.
For a proper intonation I grinded the saddles after a calculation I found on http://www.liutaiomottola.com/formulae/compensation.htm.
The last step of the setup was to file the nut action for a nice play feel.
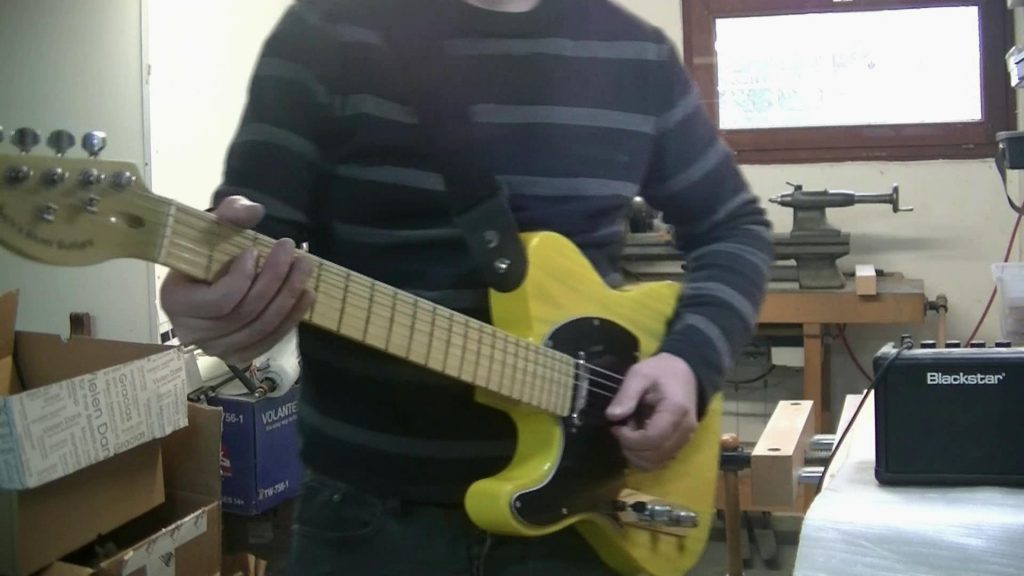
Testing
After the setup the guitar plays on first shut nicely.
The build on YouTube
The hole build on YouTube!
Very cool video, me not so much a fan of Yellow ;o) how ever well done Rudy!!