The part two of my Tele style DIY kit
To give the headstock a shape, I’ve printed out many examples, but none of them were satisfying for me. So I draw my self a template on a peace of paper. First I transferred the tuner holes to the paper. To get true radius shapes I searched my shop for all round object I can find. With this helpers it was easy to create a unique shape that suits my style.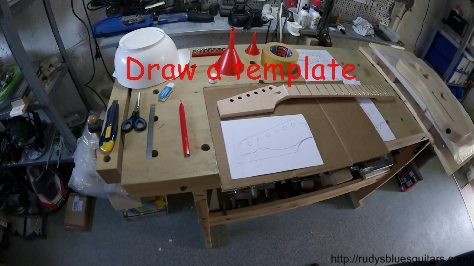
After I transferred the shape to the headstock, I have cut beside the line with the jigsaw. The maple wood was easy to cut with a hardwood blade. The surface was surprisingly smooth an I had no tear out.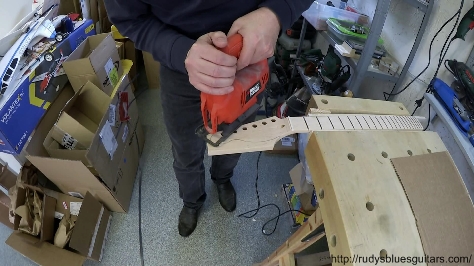
To make the surface even more smoother I used view tools, a file with a round and a flat side and for the smaller concave radius I used a small wood stick with adhesive sandpaper. In the last step of smoothing out the surface I used the sanding stick in a hand drill.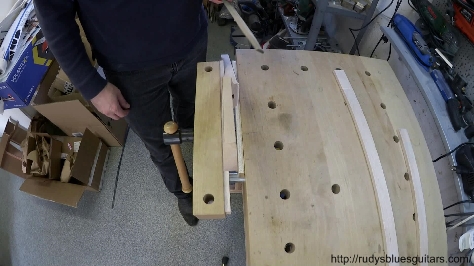
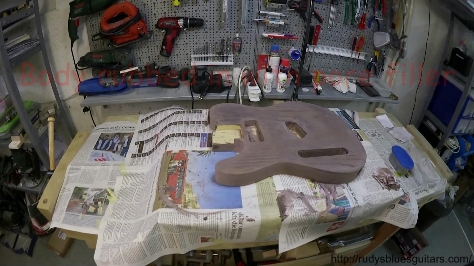
To highlight the beautiful grain of the ash body, I mixed some brown color tint and used this with the grain filler to stain the body. After applying the filler it started to dry and it could be rubbed in with a clean cloth to get the best out of the grain filler.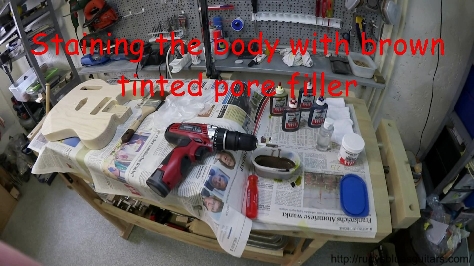
With the grain filler rubbed in I leave the body drying about a day. Next day I stared to sand the most of the brown color away with 400 grid sandpaper. After that I applied some yellow color tint.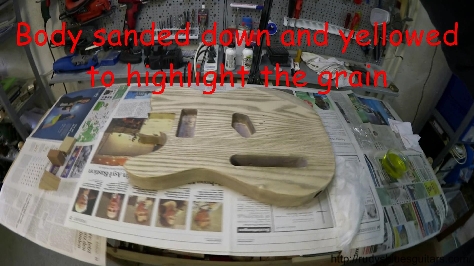
The neck I also stained yellow to match the body.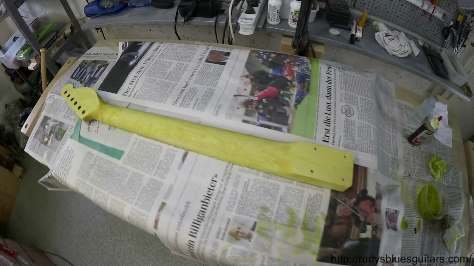
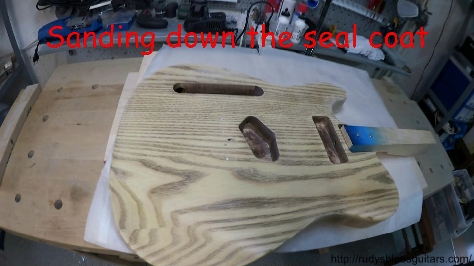
To seal the wood I used some poly acrylic waterbase finish from stewmac. This finish gives a hard coat, that’s easy to sand. To give the body a solid base, I applied about three to four coats. Each coat was applied with three runs. After each run the lacquer must became a little mat, that shows, that the lacquer starts to dry and the next run can start. If the second run starts to fast, the lacquer starts to build running drops over the surface. This is no big deal, but leads to more sanding work. Between each coat I sanded the lacquer down with 800 grid sandpaper. I applied coats till I could sand all shiny spots away without sanding trough the lacquer.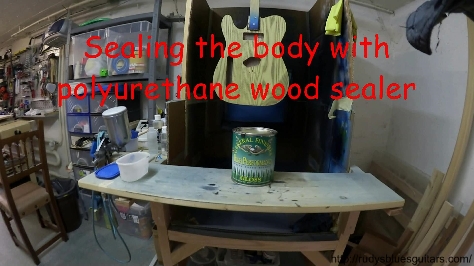
Here the second part of my build on my YouTube channel: